There are so many ways to transfer an embroidery design on fabric. But even if you know a method, it’s good idea to be familiar with all the other available methods, because it may be easier and better than you are doing.
Try a few different methods for transferring your design onto fabric:
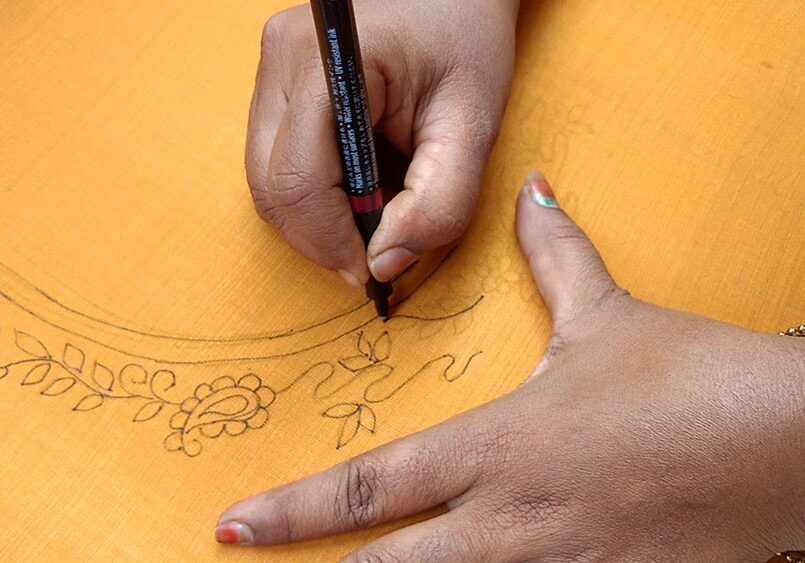
1. Direct tracing method
This is the most straightforward method. If your fabric is very thin and transparent, you can transfer the design directly onto the fabric. Place your tracing paper under the fabric and fix pins. You should be able to see the design clearly through the fabric and trace the design lines with your marking pencil or chalk. If need put some light source under the tracing paper with help of glass.
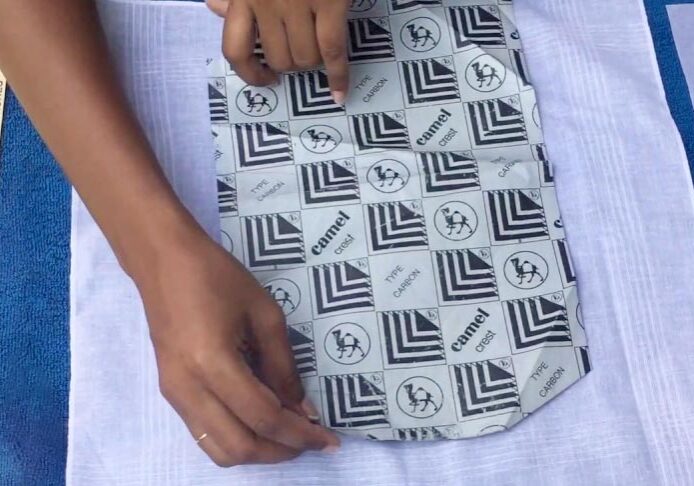
2. Tracing with carbon paper or graphite paper
Carbon paper is one of the greatest inventions ever, most of us are familiar with carbon paper. Carbon and graphite paper work exactly same way, only using graphite instead of carbon. Graphite paper is greaseless, leaving behind less residue, and is easy to erase. Use a light-coloured sheet of carbon paper on darker fabrics, and a darker colour on lighter fabrics. Place the sheet of carbon paper over the fabric ink side towards the fabric and place your design paper on the carbon paper. Align all three properly. Press hard and draw on the design lines with a stylus (or marking wheel or empty ball-point marking pen) to transfer the design on to the fabric.
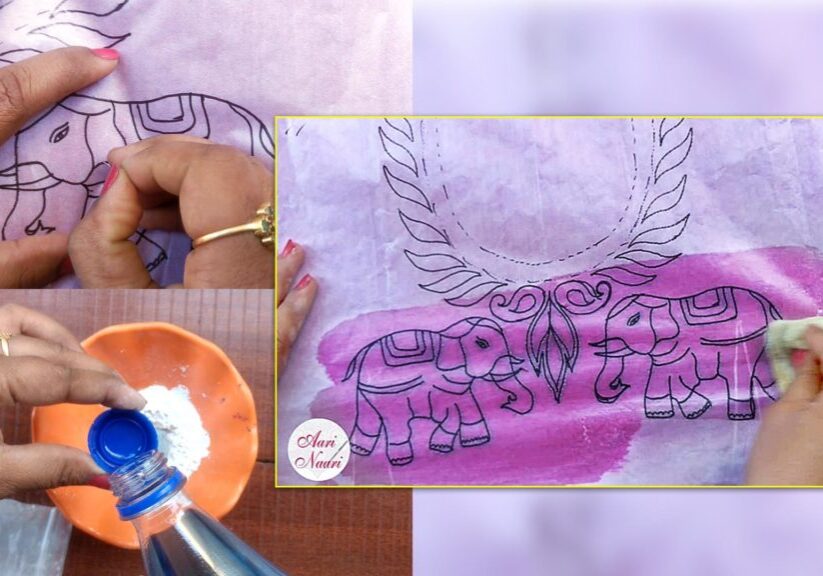
3. Pouncing (tracing powder and kerosene) method
This is another option for marking an embroidery design on fabric. There is compound material called tracing powder, black and white colours are available. In a bowl take some quantity of tracing powder and put little amount of kerosene mix well until you get smooth paste. Tracing paper design outlines are prick with a pin at regular intervals. These holes are allowed only compound to get your final design on fabric. Place the tracing paper on the fabric. Take a sponge or cloth dip it in to the paste which we have made already. Rub the sponge over the tracing paper gently without moving tracing paper and let it dry.
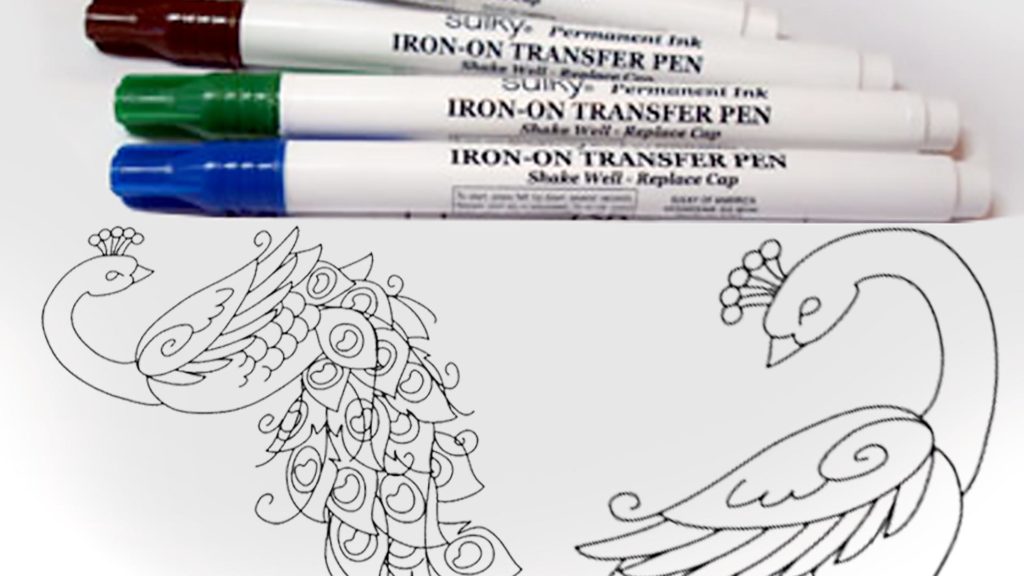
4. Heat transfer pens & pencils
This method works on both light- and heavier-weight fabrics. Transfer pencils and pens are available in various thicknesses and colours, and the ink will be printed by the heat of an iron. These markings are permanent, and the design lines will not wash out. Use A fine-tipped transfer pen or pencil for the best results.
To use a heat transfer pen or pencil, trace your design in reverse on a tracing paper (basically you must create a mirror design in progress to get actual design on fabric). The quickest way to do this is to flip your design before you print, and then trace the design using the heat transfer pencil. Use a sharp edge pencil to get best results. Place the tracing paper on the fabric and press with a hot iron rub carefully to avoid distorts the design. The final marking lines will not be visible under the beautiful embroidery.
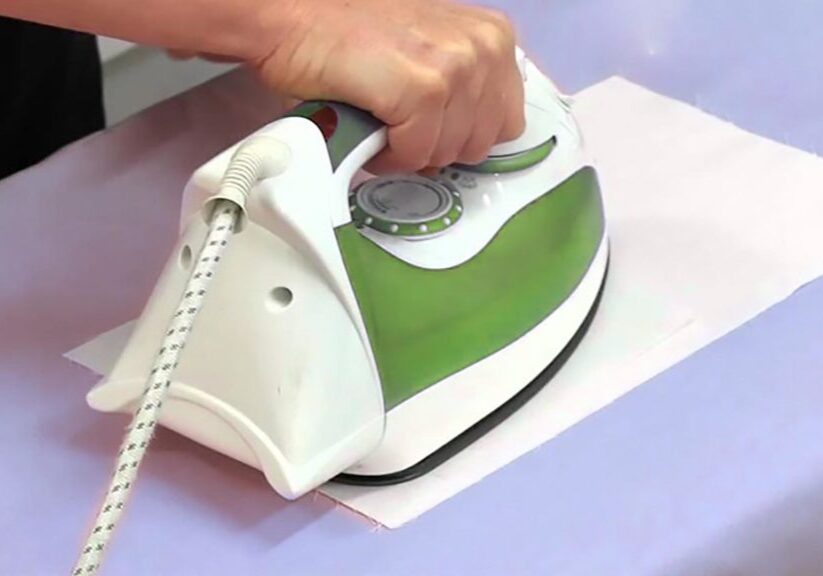
5. Hot Iron Transfers
This is very easy method; Hot iron transfers are ready made design papers that come ready-to-use. These are normally available printed black, blue or grey colours. With the help of hot iron transfer these designs to the fabric. This method is like same as heat transfer pens and pencils.